It’s probably pretty fair to say that Microsoft Word has become the poster child for word processing programs – and for good reason: its tools and capabilities are very well-suited for the user’s needs. Did you know that you can even adjust Word so that it better fits your use of it? For this week’s tip, we’ll go over a few ways to do so.
Customizing the Quick Access Toolbar
The Quick Access Toolbar can be found at the top left of the window, with default options like Save, Undo, and Redo. It’s pretty easy to spot, isn’t it? This is one of the reasons that adjusting it to your preferences can be so helpful.
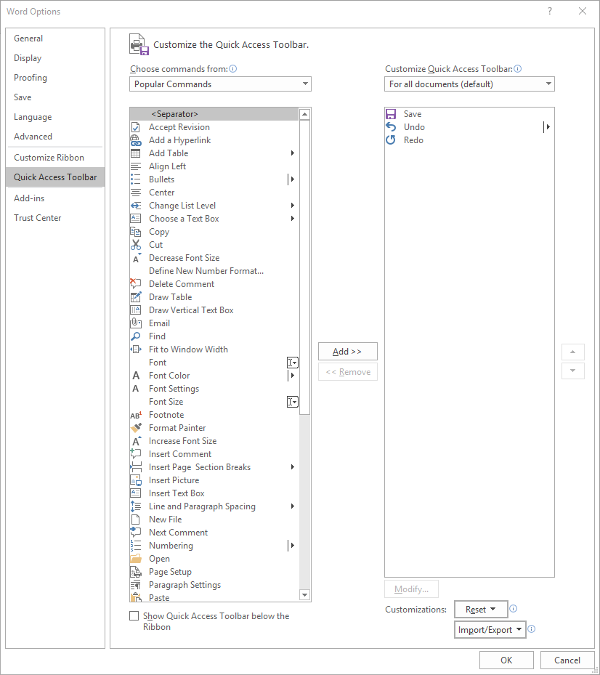
Making these changes is fairly simple. Your first step is to access the Quick Access Toolbar’s options. Under File. select Options, and in the window that appears, click Quick Access Toolbar in the sidebar menu. It should look like this:
From here, you can see that the typical Save, Undo, and Redo options are in the Quick Access Toolbar – which is all well and good, but you can easily use keyboard shortcuts to accomplish the same things.
You might find a different assortment of tools more handy to keep in your Quick Access Toolbar. Altering them is simple enough from this menu, all you have to do is select the item and click the appropriate button, Add>> or <<Remove. The list on the left defaults to Popular Commands, but there are plenty of options to choose from, based on your needs. For now, we’ll stick to Popular Commands.
Let’s assume you use Word to put a lot of data into context, so you use a lot of lists and tables… and it needs to be spelled correctly. You can easily change your Quick Access Toolbar to meet these preferences.

Once you’ve done so, just click OK and your changes will be saved. You can always revert to the default settings by using the Reset option as well.
Customizing the Ribbon
The Ribbon in Word is where you find your options like Home, Insert, and the rest. Depending on your usage, you may not have much of a need for some of these options. Let’s assume that you don’t have any purpose for the Mailings tab, or the Draw tab, for that matter.
Again accessing File and Options, this time we’re looking for Customize Ribbon, which looks like this:
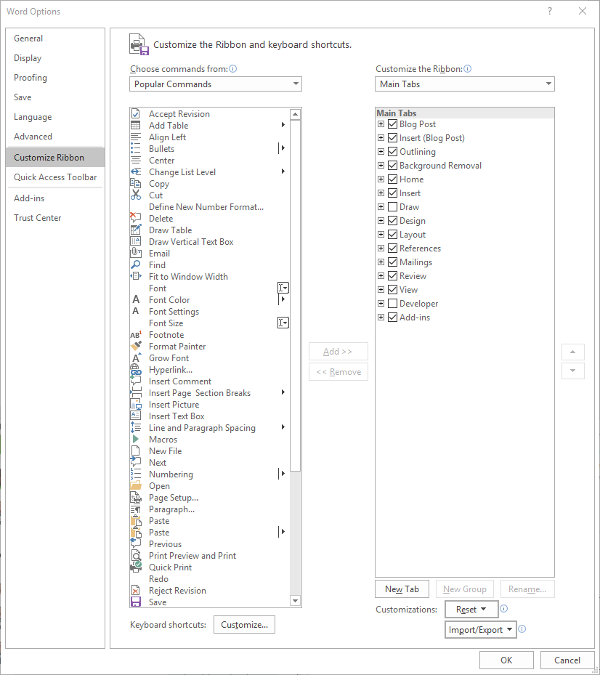
Just as we did with the Quick Access Toolbar above, you can adjust what is displayed in the Ribbon. Since we’ve established that – in this example – we have no purpose for either the Mailings or Draw tabs, we can uncheck them to remove them from the Ribbon display.
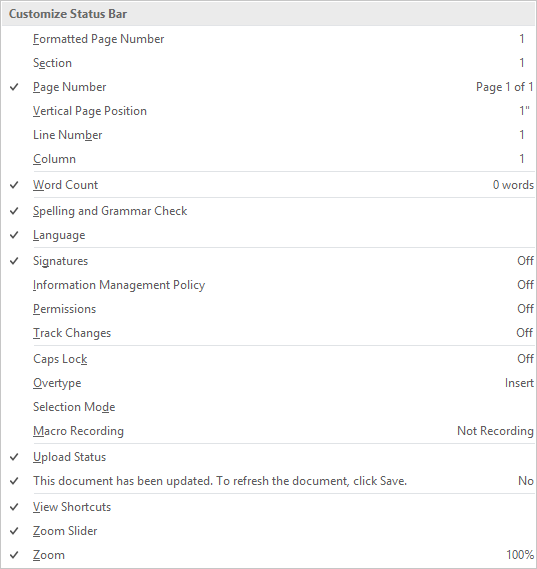
Customizing the Status Bar
At the very bottom of the window is the Status Bar, which can be altered to provide other valuable information based on what you have prioritized. Doing so is very simple: just right-click on the Status Bar, and select (or deselect) the options.
There you have it- three ways to customize Microsoft Word to better suit your purposes. For more technology tips, make sure you subscribe to our blog!